
Table of Contents
You’ve planned out the event, booked the venue and made a list of your attendees. The next step is crafting a killer invite to send out.
You have a design in mind, you’ve picked out a color scheme and you’ve decided on a theme. All you have to do is put it together and send it out, right?
Nope. You’re still unsure and have a ton of questions in mind.
Is my invite in line with the brand? Where do I mention the theme? What should the subject line be? What information to include? Should it be a paper invite or an E-vite? And what’s the best way to send it out?
The answers to all those questions and more are below, so you can start crafting the perfect event invitation in no time:
Maintaining Brand Consistency
Your brand’s perception is based on the way people look at it. You can manage this perception but you cannot control it. Visual identity is crucial to your overall brand. It is shaped by the typefaces, colors, and photos you choose to include in your content. You need to make sure your event invitations are in sync with your brand.
If your color scheme is inconsistent, people cannot attach an identity to the brand which affects brand awareness. It also dilutes the overall visual style. Your color scheme is a significant identifier for the brand’s identity, and constant change to it will leave people confused. So, stick to a single color scheme.
Well-branded graphics catch the eye and reinforce your event’s identity. Put thought into what you want people to see. On your invites use diagrams or icons which seamlessly blend with the content.
Making your theme clear
Your audience needs to have context for what type of event you’re throwing. Is it a luncheon, auction, golf tournament, charity ball, black tie or concert? Let them know it in the title of the invite or as a subhead.
You can do the same via text and emails. For emails follow the same template as that of a physical invite.
While sending text invites keep it short and succinct. A text invite would look like:
|
Grab some leg warmers, metal bands,
Or acid wash to wear, celebrate with <Name of your organization>, be there or be square! <Name of organization>
Totally Awesome 80’s Party <Date>
<Time> <Venue> RSVP To <Contact details> |
Deciding on your invite subject
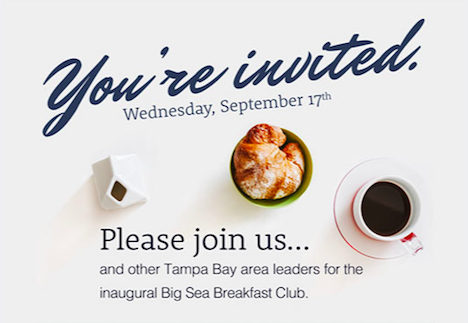
Let’s say you want to send out invites to businesses. Your invite should address those readers and let them know it’s relevant to them. For example, Big Sea Breakfast Club used “Tampa Bay area leader” to address businesses directly.
This should be done in the opening copy of your invite, adding a nice touch and creating an interest in readers. It also ensures attendees get the necessary information regarding the event.
Avoid using phrases or words that are vague. For example, making an impact, creating opportunities or improving lives. People believe nonprofits make an impact and improve lives. Adding these words in your invite makes little sense. Instead of using words with broad meaning, try to find that one thing that ties all your work together and use that in your invite.
Including only relevant information
Stick to providing only relevant information, making it easy to read. We have made a list of what you must include in your invite:
- Name of the event: This is where you make the theme clear. Add your logo
- Cause: Put your tagline under your logo
- Date, Time and Venue
- Meal option: What kind of food you’re serving.
- How to RSVP: website, email or phone number (end with this information)
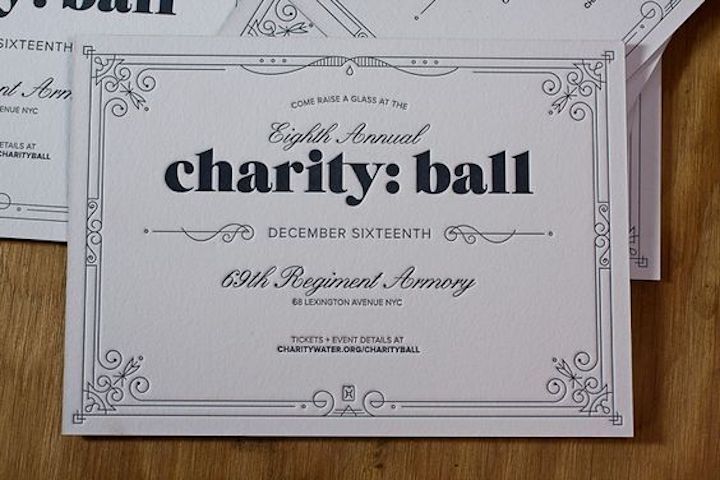
The organizations that stick to this format are Charity: Water, Hidden Dinner, Brooklyn Workforce Innovations, etc.
Choosing your invite design
You have several options for designing your event invites. From traditional paper invites to digital invites, it’s hard to narrow down to a single option. We have made a list of three kinds of designs you can pick from:
- Written invite: Traditionally, invitations were handwritten for social events conducted by aristocrats. They did it so to maintain exclusivity. If your conducting a small, exclusive invite-only event then you can consider handwritten invites.
- Printed invite: Printing invites is quick, easy and affordable. You can make it colorful with stunning designs and effects. Such invites are preferred for black-tie dinners, fundraisers, or luncheons.
- Electronic invite: Electronic invites don’t have to follow formal invitation etiquette. You can experiment with it and keep it bright and easy to read. You can send it via emails, social media, an event app or text messages.
Paper invites are a good choice for exclusive events or social occasions while e-vites are used to target a professional audience and for sending out reminders.
Choosing your mode of delivery
Mailed invites are lovely to receive but require a lot of effort from your side. You must send it out six weeks before the event and make follow-up calls or send out texts to attendees. Follow-ups are done to send out reminders and boost attendance. It can be done 2-3 days before the event.
E-vites are simpler. You can send it out a month before the event and also add the RSVP option making it easier for attendees. E-vites can be sent out as emails or through text messages.
Event invites are an important part of your promotion. It is a great way to get out the word and drive up attendance. These tips will help you create simple, compelling and creative invitations for events. Apply them to your next invite and let us know how it goes.